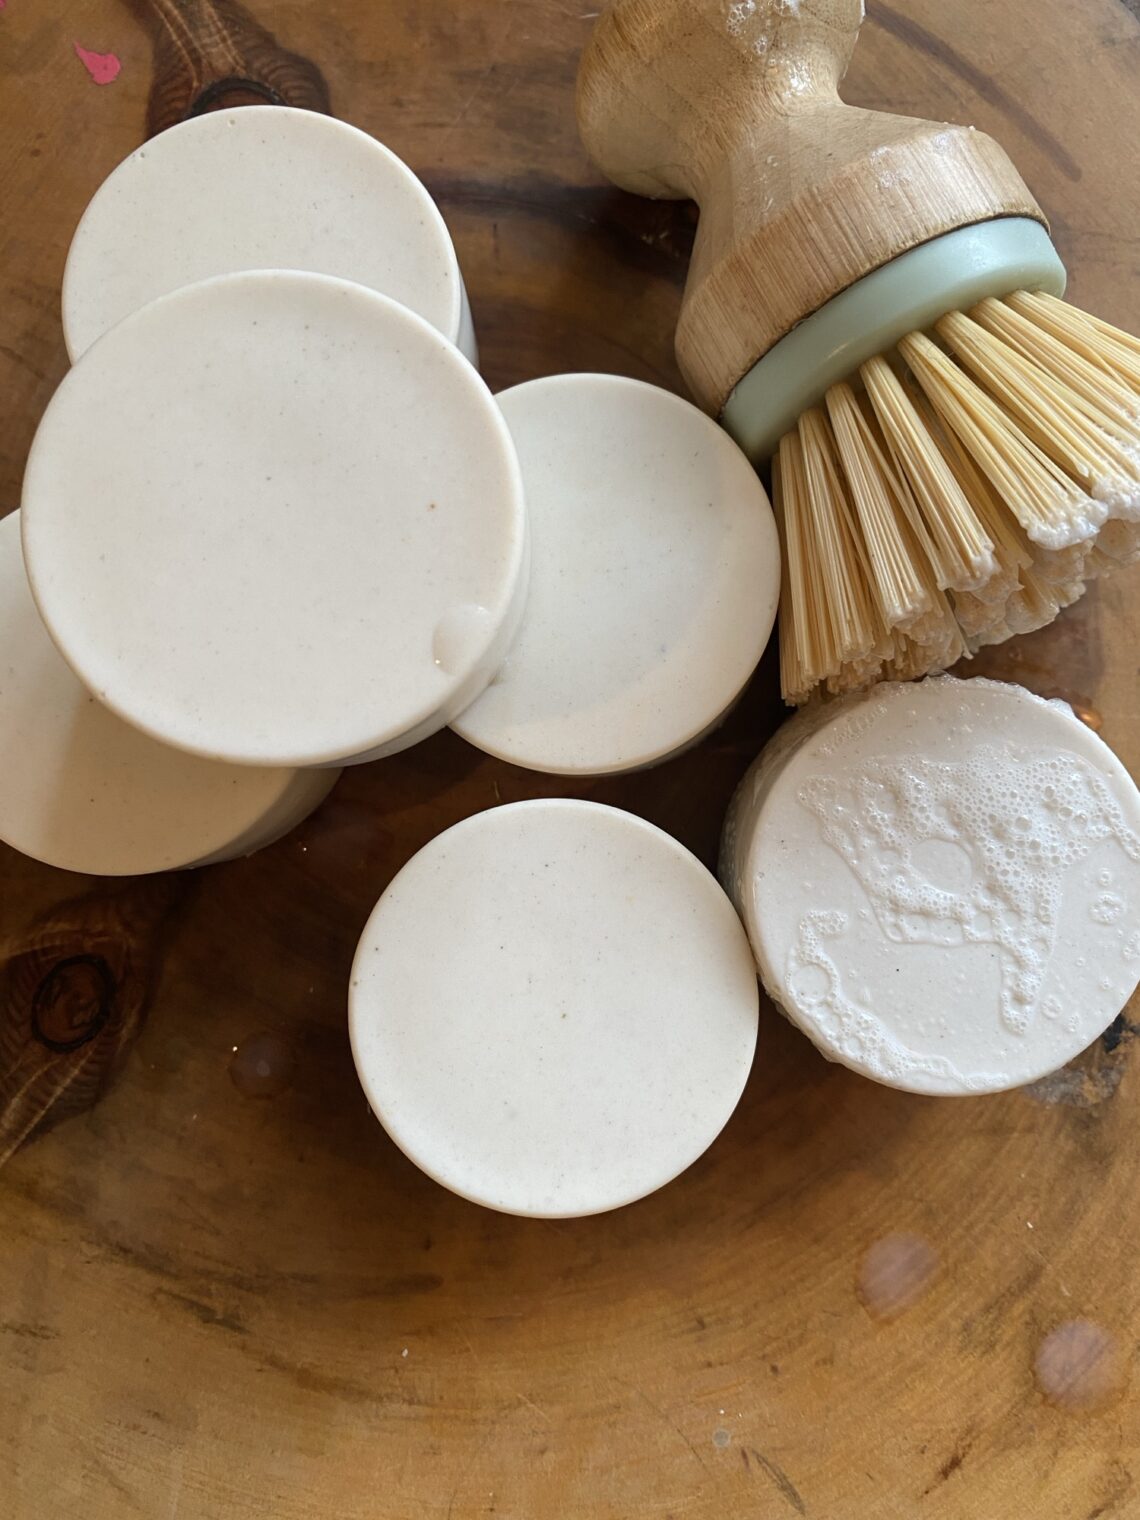
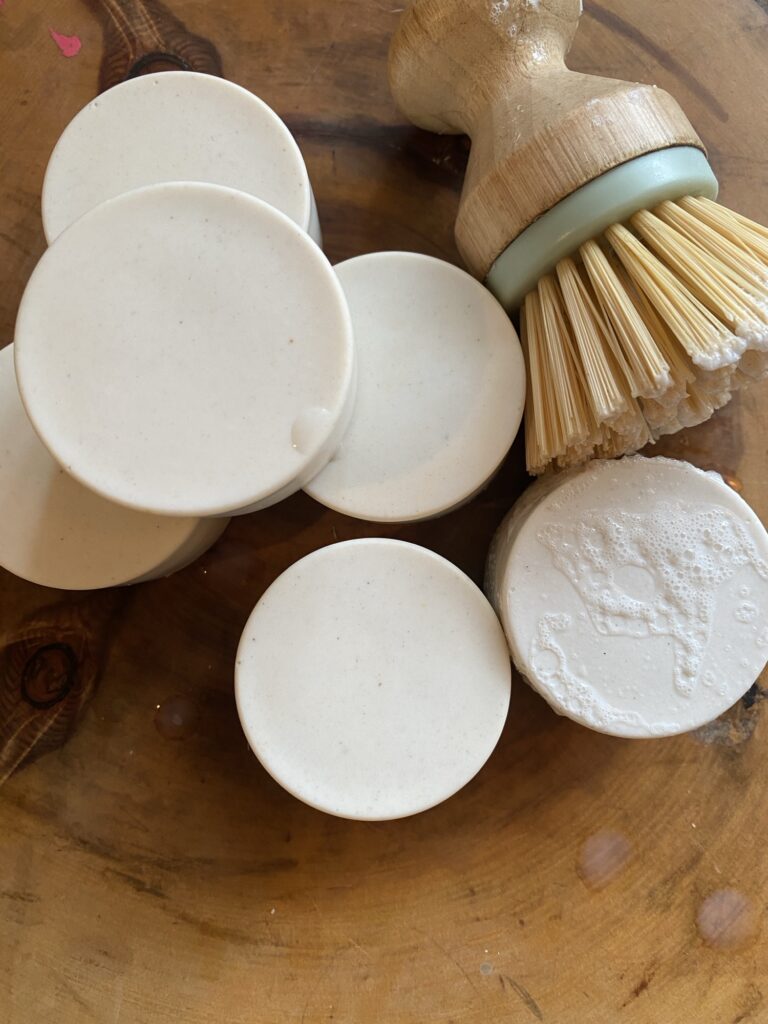
This is a beginner friendly cold process soap tutorial.
Years ago I learned how to make my own dish soap because even “natural” dish soaps were giving me terrible rashes that would never fully heal. Further, I discovered tallow and it’s ability to moisturize, nourish and heal the skin. When I learned it was traditionally used to make soap, I was even more motivated to learn this useful handmade craft.
I have tried tallow soap recipes for body and dishes, that are made from 100% tallow as the fat. Unfortunately, I find that pure tallow soaps tend to not lather as well and become gummy, squishy, soft and messy. Working through a few recipes with a lye calculator, I finally found a great ratio of coconut oil to tallow to create a nice hard sudsy bar of soap that is mostly tallow )and doesn’t get soft and gummy. ) Adding coconut oil to cold process soap helps to create a harder bar that suds up really well.
Making cold process soap is an easy worthwhile craft to learn.
A few notes if you’re a beginner:
Sodium hydroxide or lye is necessary in soap making. This is what saponifies the oils into soap. Sodium hydroxide, when mixed with water or liquid, is caustic. It’s best to do this project in a well ventilated area, I mix my lye and water under my range hood, and mitigate distractions. This isn’t a task to do with a baby on your hip or a toddler at your feet. The mixture will superheat too and will burn skin if spilled on it.
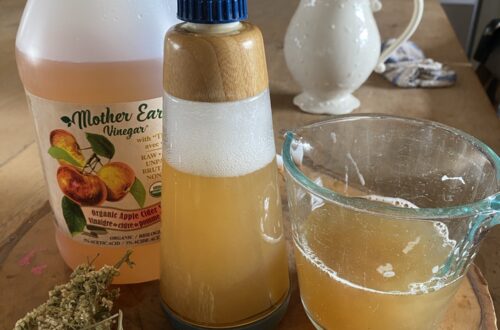
I keep a bottle of distilled vinegar in a spray bottle on hand to spray my work space down or spray any possible spills as vinegar is “supposed” to cancel the lye.
Always pour the lye into the water. Never pour water into lye. Cold process soap is easy, however this process of mixing ingredients is important and one should be very aware and focused when working with lye and water. Pour the lye slowly, stir, hold your head back so as not to breathe the fumes. It may take a few minutes going back and forth, pouring a little then stirring, then waiting. Just go slowly, methodically and patiently. It’s recommended to wear plastic gloves and a long sleeve shirt… but I’ll be honest, I don’t bother with these precautions. Just pour and stir slowly and be aware of the caustic burning nature of lye and water.
In this recipe, I’m not bothering to read the temp of my oils or lye mixture. Instead, I’m using my lye solution to melt my oils and because it’s a simple dish bar, I’m not concerned about temperature or the possibility of the soap cracking due to high temps.
Besides the ingredients to make this soap, there are a few pieces of equipment necessary for cold process soap making. If you use wood or plastic, do not reuse these items for food. For example, if you use a silicone spatula with a wood handle, or a plastic bowl to mix your ingredients and batter, it’s best to just have these items set aside for the use of soap making and nothing else.
I prefer to use glass and I’ve read, once properly cleaned, it’s ok to reuse these items for food use, thats up to you. You can thrift a lot of these items and just have them for the purpose of soap making too.
Equipment:
Immersion blender
Two quart Pyrex measuring cup
One quart Pyrex measuring cup
Two cup Pyrex measuring cup
Spatula
Spoon
Scale for weighing ingredients
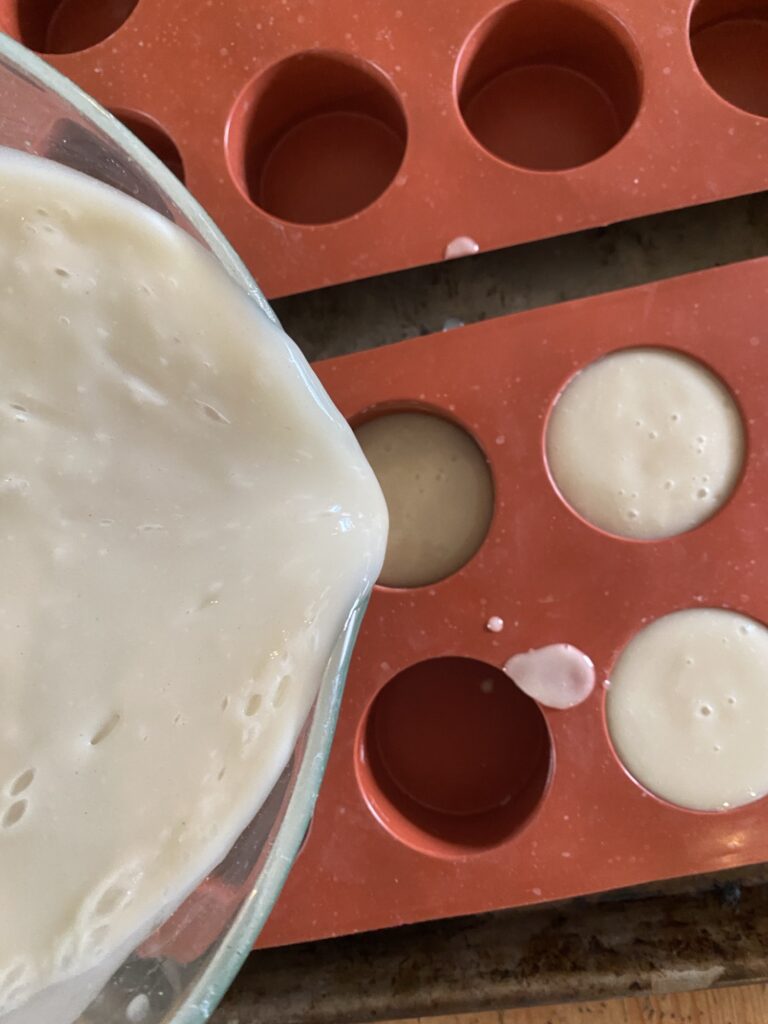
Soap mold (you can make a mold with parchment paper in a loaf pan. Or buy silicone loaf soap molds on Amazon. Today I’m using round silicone molds. The sky’s the limit though. You can use just about anything as a mold. I’ve even used a small cardboard box lined with parchment and cut my soap into rustic blocks. Silicone muffin cups work too.)
I haven’t added essential oils or fragrances to this recipe, I prefer plain soap most of the time. However, feel free to experiment and add what you like.
Some lovely essential oil combinations for this degreasing sudsy dish are:
Clove, cinnamon, lemon and orange
Peppermint, lavender and tea tree
Rosemary and peppermint
Lemon, peppermint and lavender
Tea tree, peppermint and lemon
Just to name a few ideas.
For the ingredients, I try to use things that can be easily and economically sourced. I buy my coconut oil at Costco, so that’s relatively economical and in bulk.
For tallow, I get suet from a local butcher and render my own. I often get it for free. Recently, my neighbor had her sheep butchered so she gave me a ton of sheep fat I rendered and froze into little blocks for food and soap use.
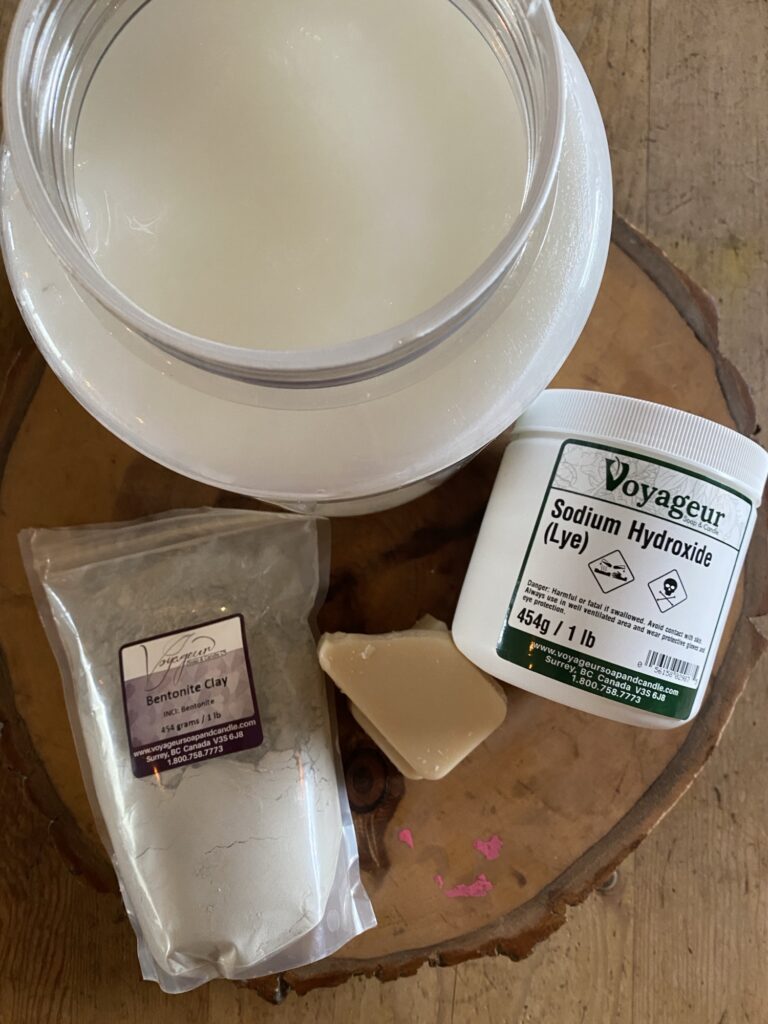
For my soaping ingredients like clays (which add a nice degreasing element, while softening hands and creating a harder bar,) and sodium hydroxide I purchase in bulk here.
Sometimes my local health food store carries lye too.
Voyaguer Soaps also carries fragrances and essential oils.
Years ago I took an aromatherapy course and they suggested New Directions as a reputable place to purchase essential oils too.
Tallow Cold Process Dish Soap
12 ounces water
5.9 ounces sodium hydroxide
20 ounces tallow (I’m using sheep tallow)
10 ounces coconut oil
1 TBSP bentonite clay
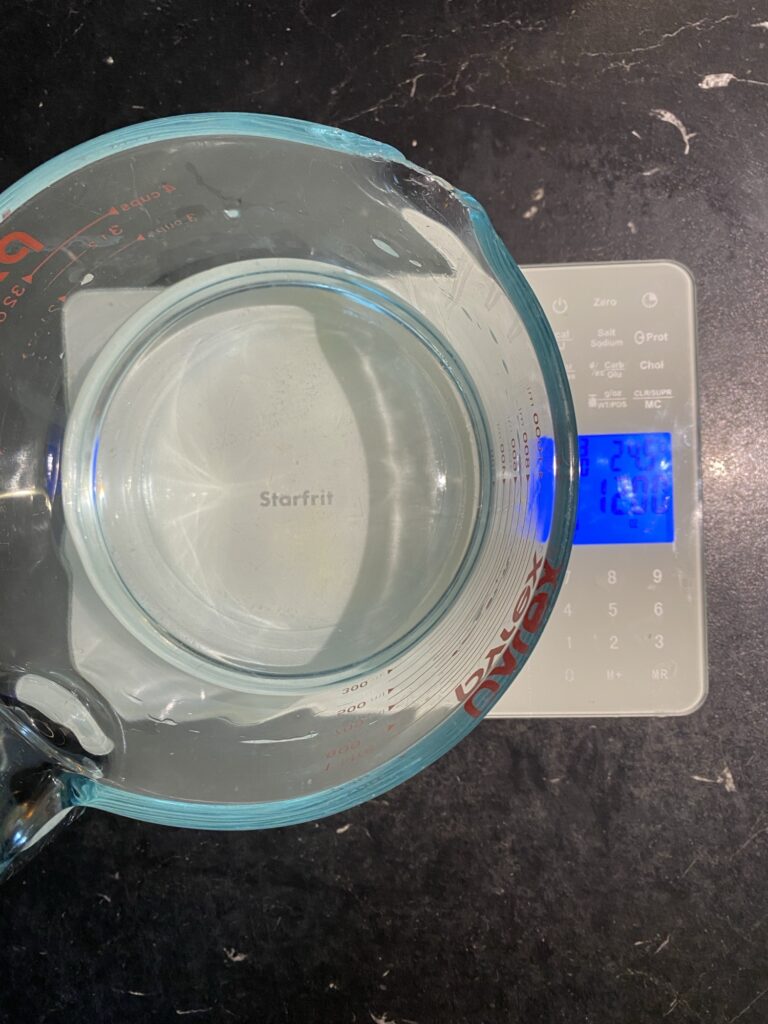
Begin by weighing out 12 ounces of water and setting aside. I use a one quart Pyrex measuring cup for this.
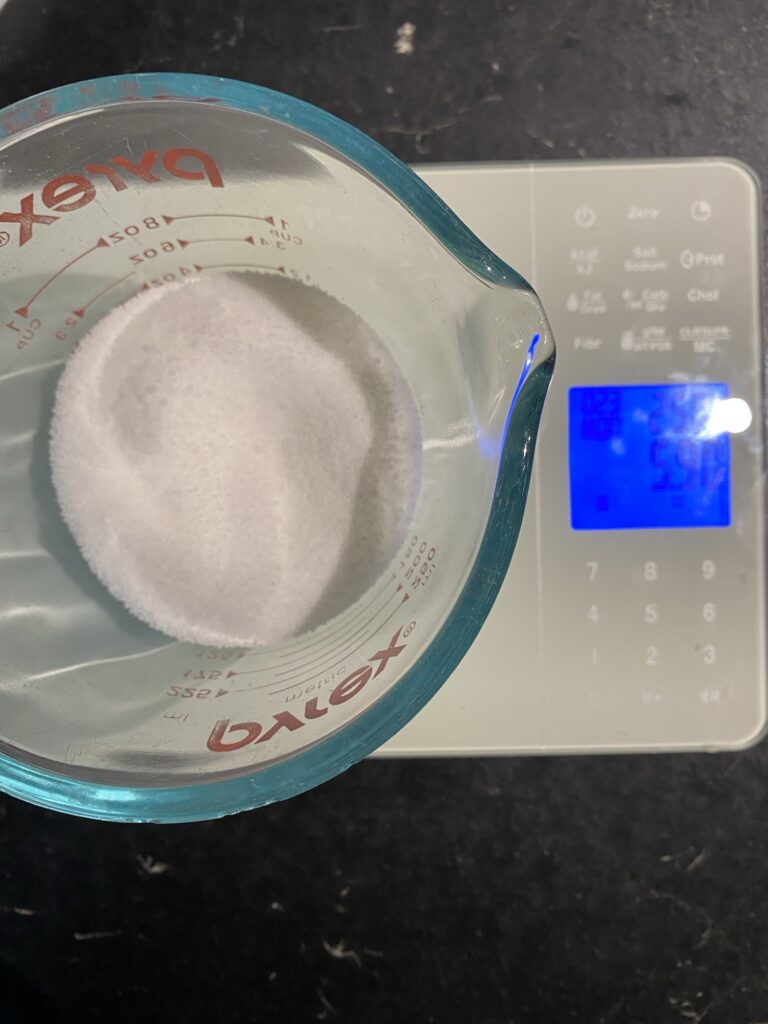
In another two cup Pyrex measuring cup weigh out 5.9 ounces of sodium hydroxide. Make sure the dish is dry, if you need a spoon to measure more out or take some out, make sure your spoon is dry.
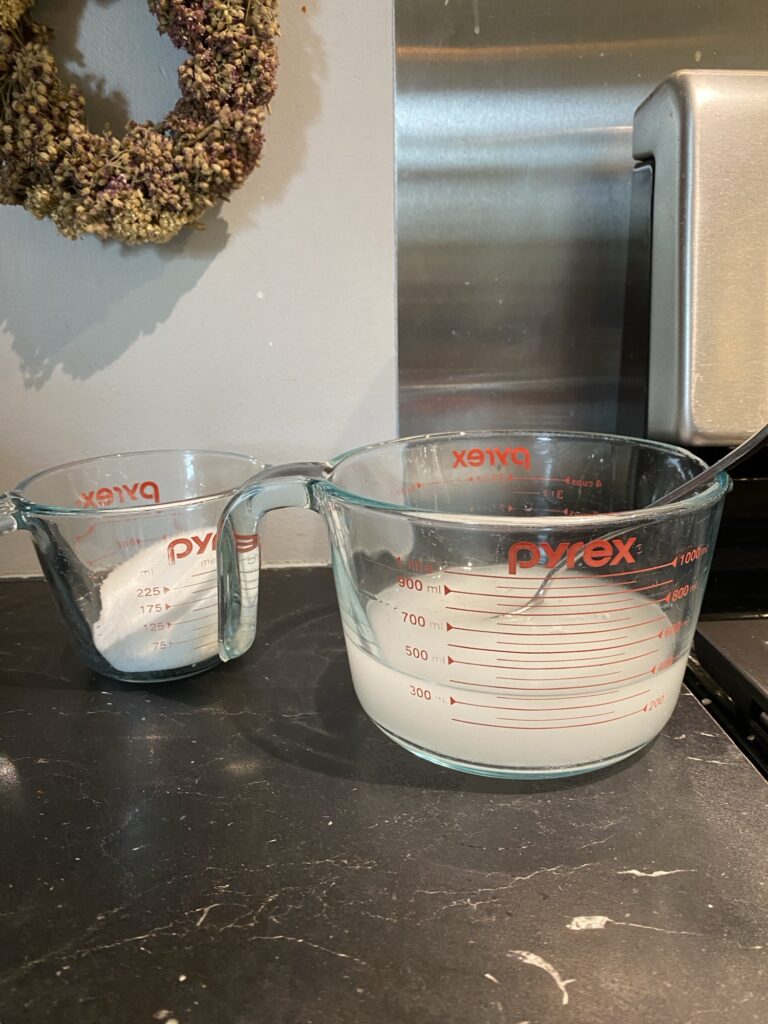
This part takes anywhere from 10-15 minutes. Carefully pour the sodium hydroxide into the water, stirring slowly and pouring slowly. You could do this outside or next to a window, I mix mine under my range hood turned on its highest setting. Once dissolved, allow it to sit until it becomes clear.
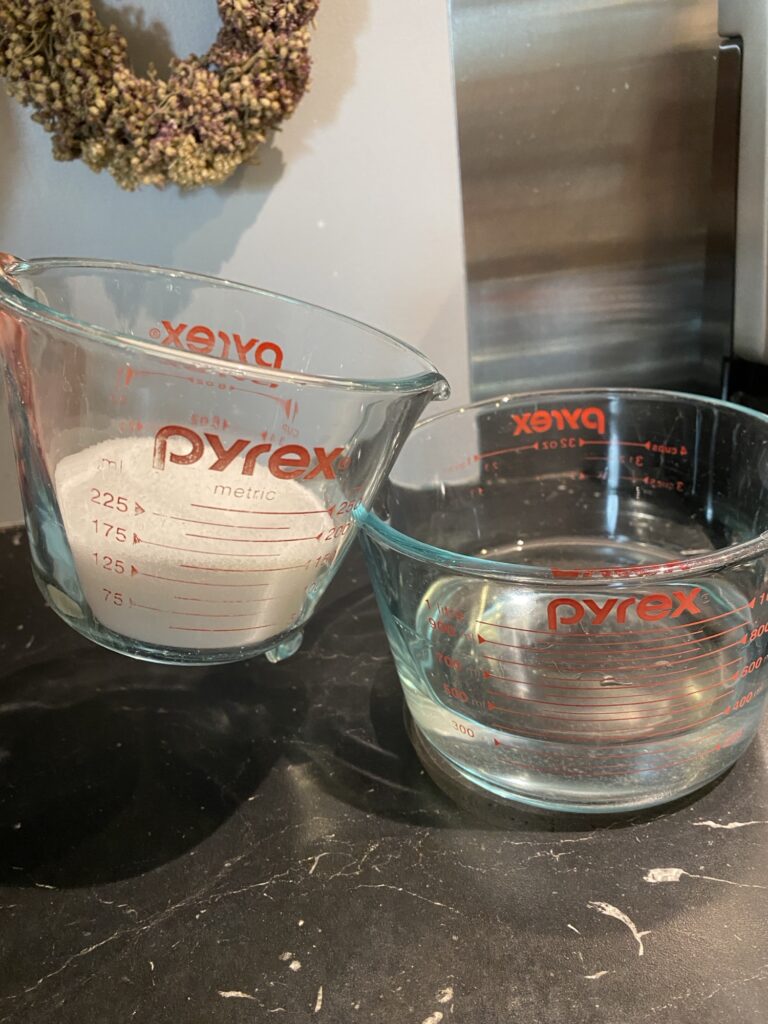
While the lye solution is sitting and dissolving, weigh out the oils.
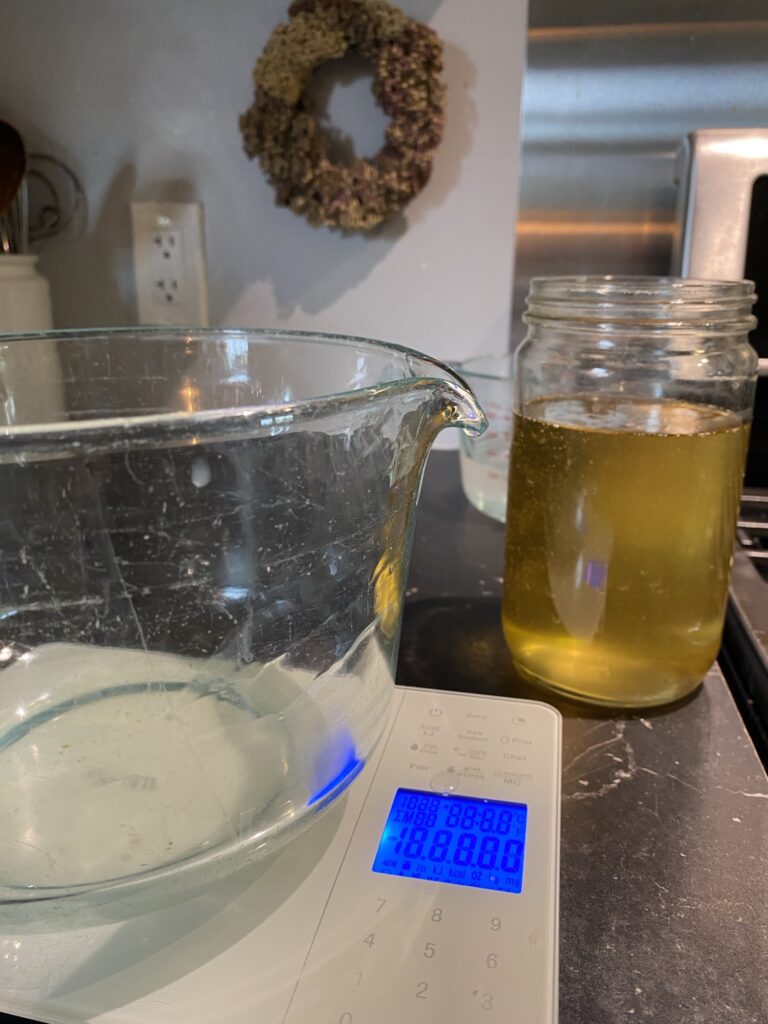
I had been rendering sheep fat so I had it in a liquid state already. Weigh out 20 ounces of tallow.
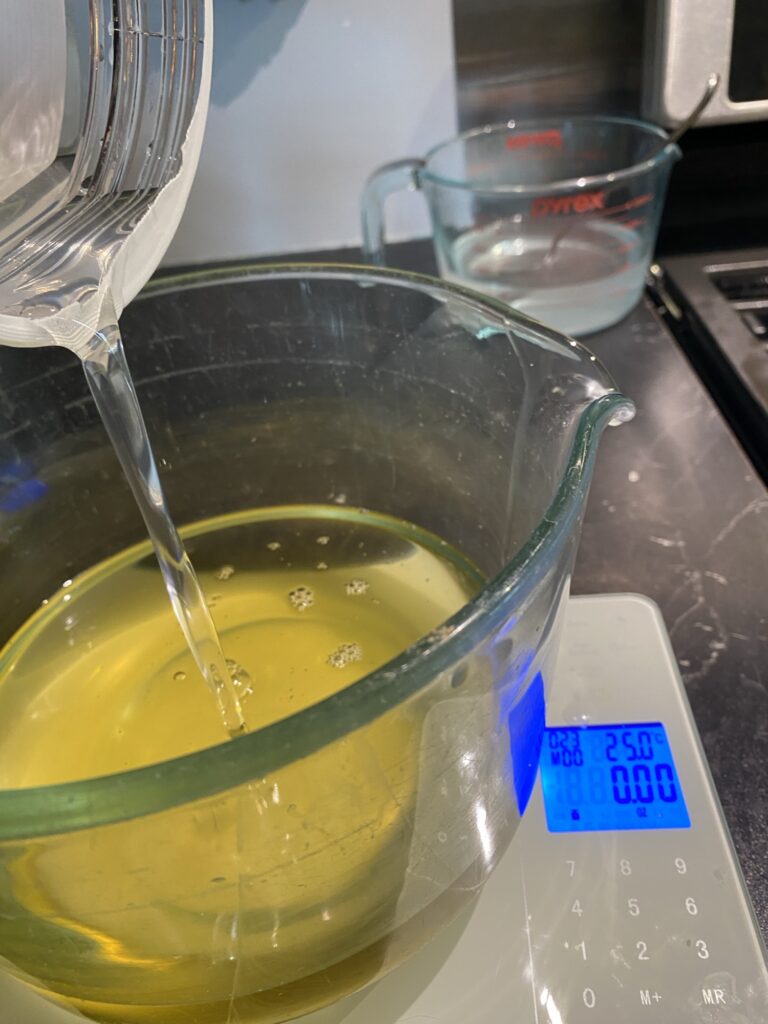
Zero your scale and weigh out 10 ounces of coconut oil.
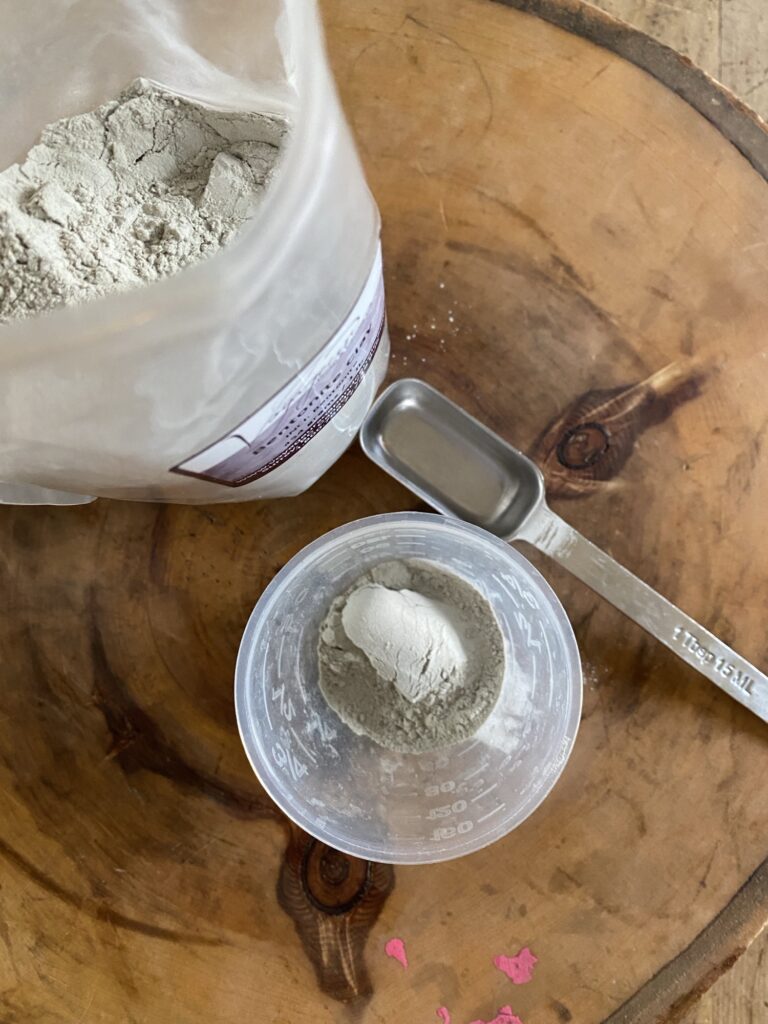
Measure out the bentonite clay. It’s best to have each ingredient weighed or measured out prior to mixing as the soap batter could set up quickly. If you’re using essential oils, measure those out now too. I measure mine in a small shot measuring glass.
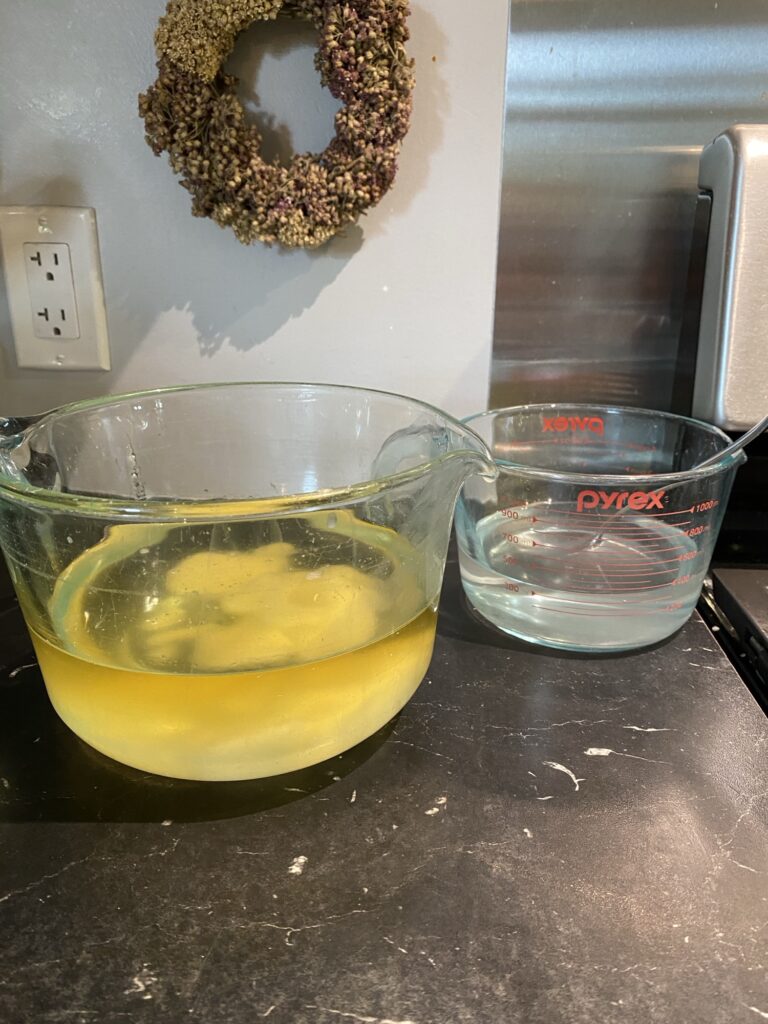
Now the lye solution is clear and all the sodium hydroxide has dissolved. It’s time to stir the lye solution into the oils.
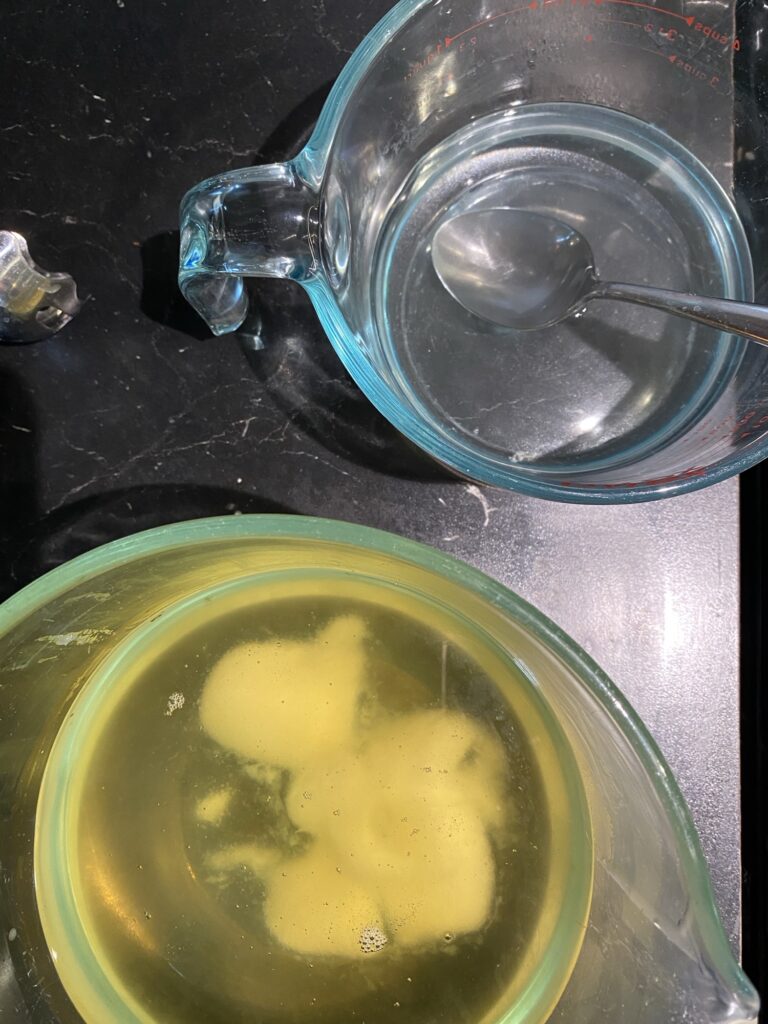
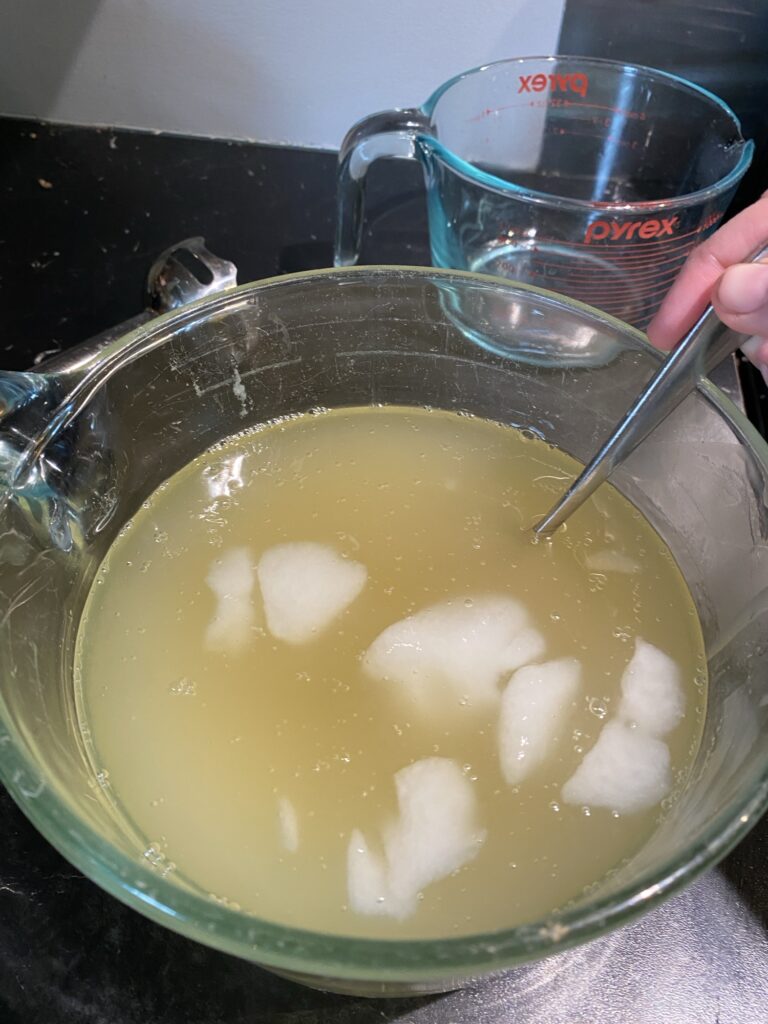
Because I’m using my lye solution to melt my oils, I hand stir my soap batter for a bit until every bit of unmelted coconut oil has melted.
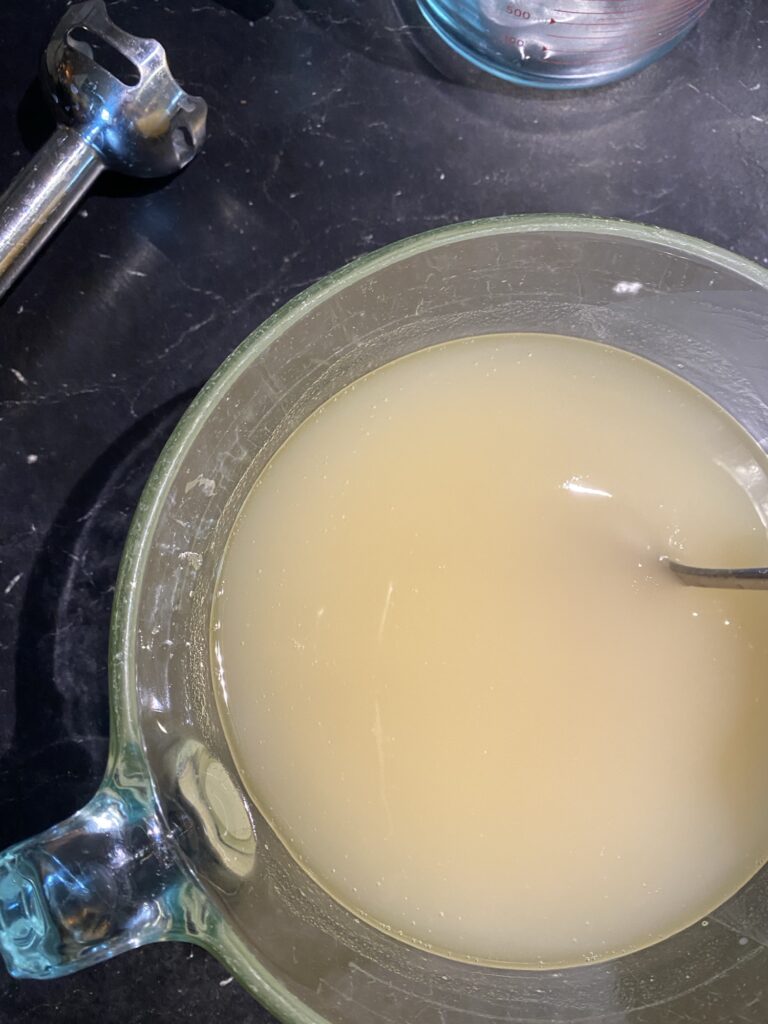
Hand stirring.
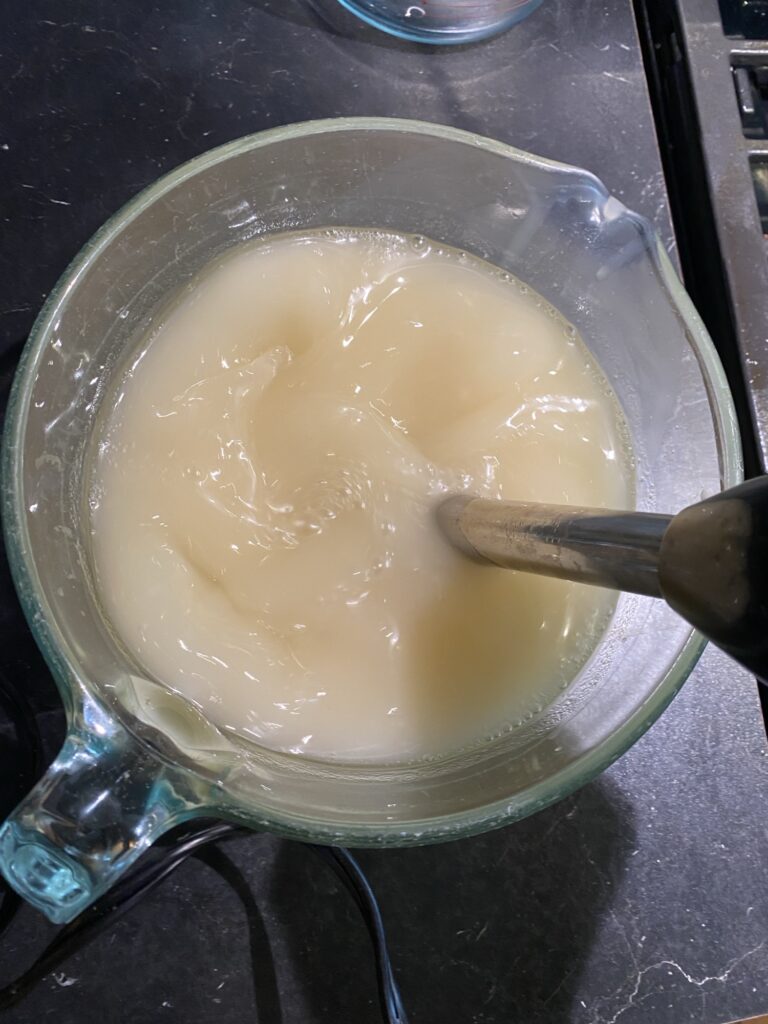
Once the oils are melted and my batter is cloudy, I switch to my immersion blender. This will take anywhere from 10-15 minutes. We are looking for trace, which is simply a nice thick soap batter that you can eventually make traces of batter on top of the main batter.
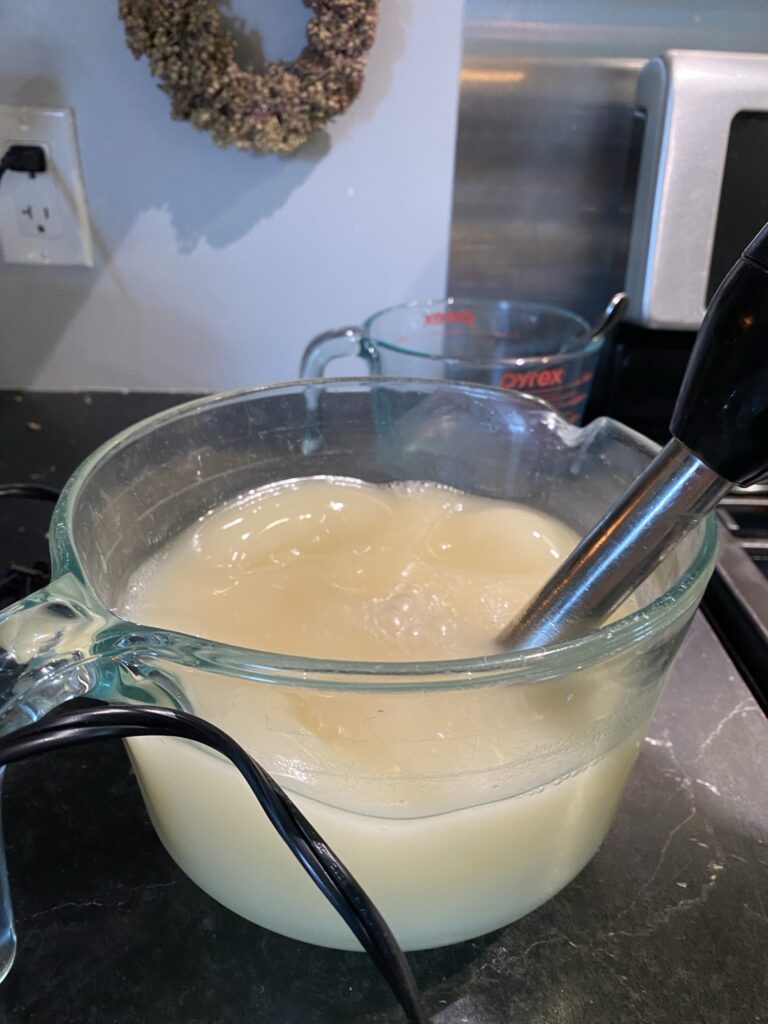
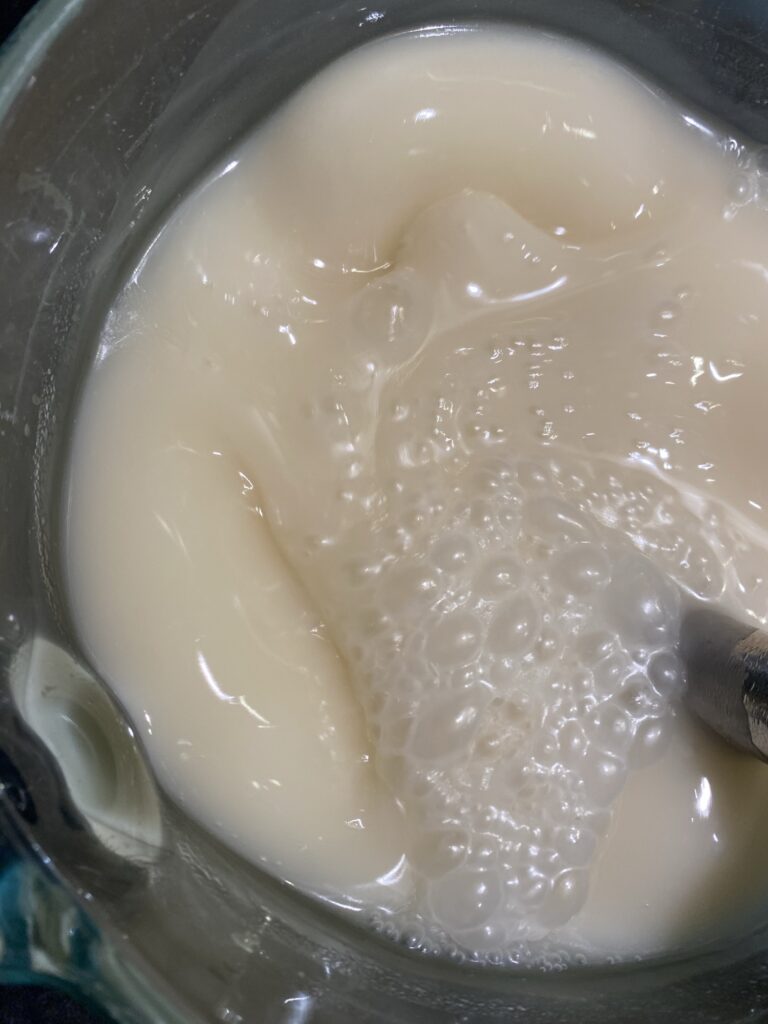
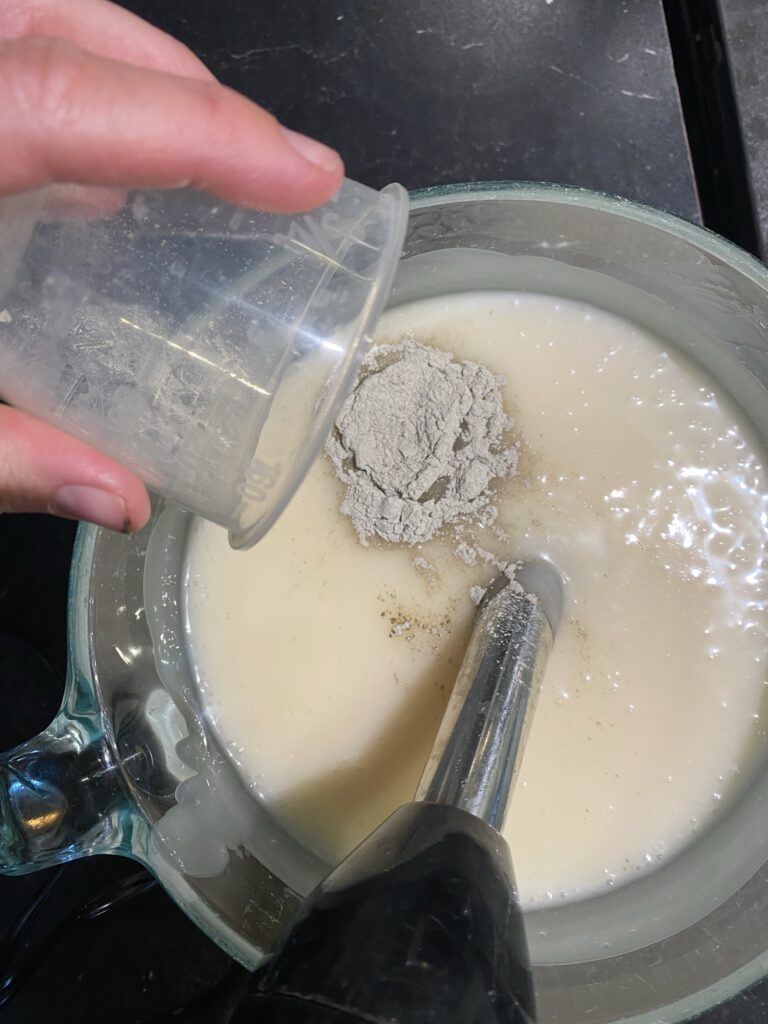
Once trace has been reached it’s time to add the additives. I’m adding my bentonite clay. If you’re using essential oils, add those now too.
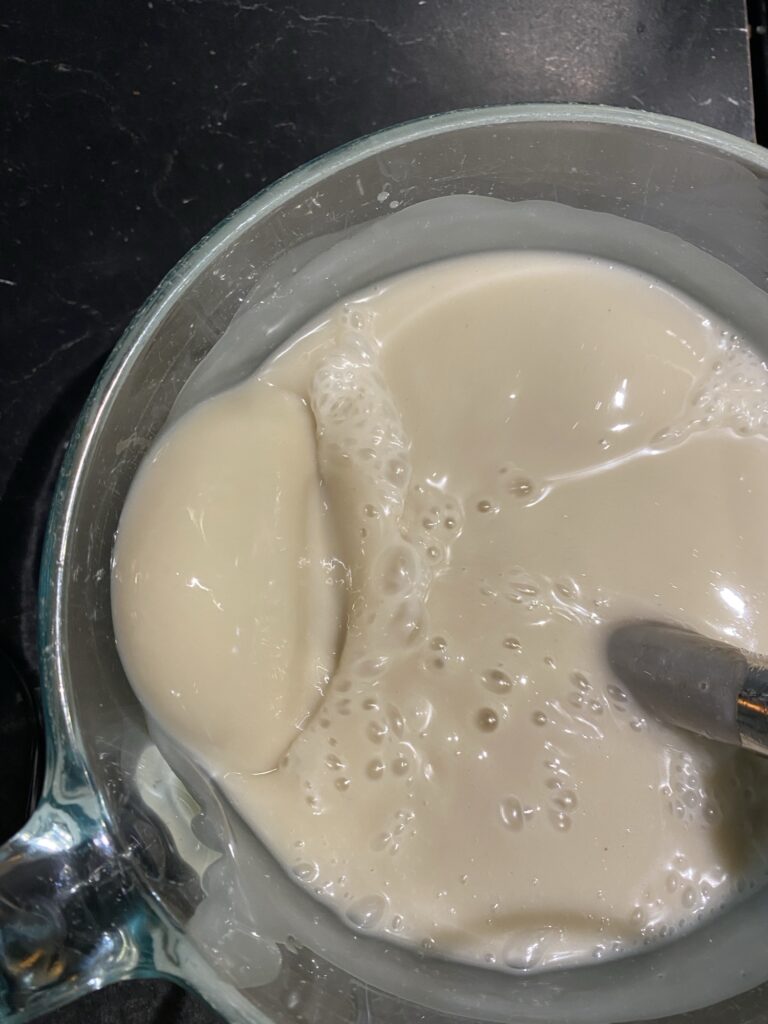
Mix well, I stop, stir and tap my immersion blender a bit on the bottom of my bowl to check trace and get the air bubbles out of my batter.
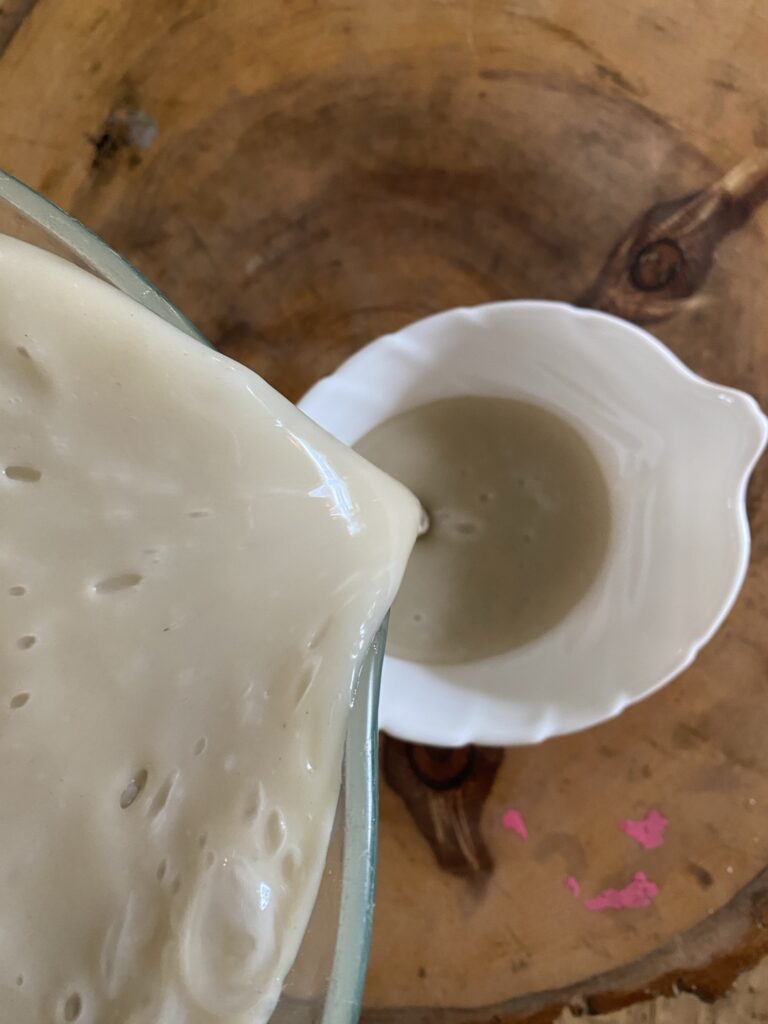
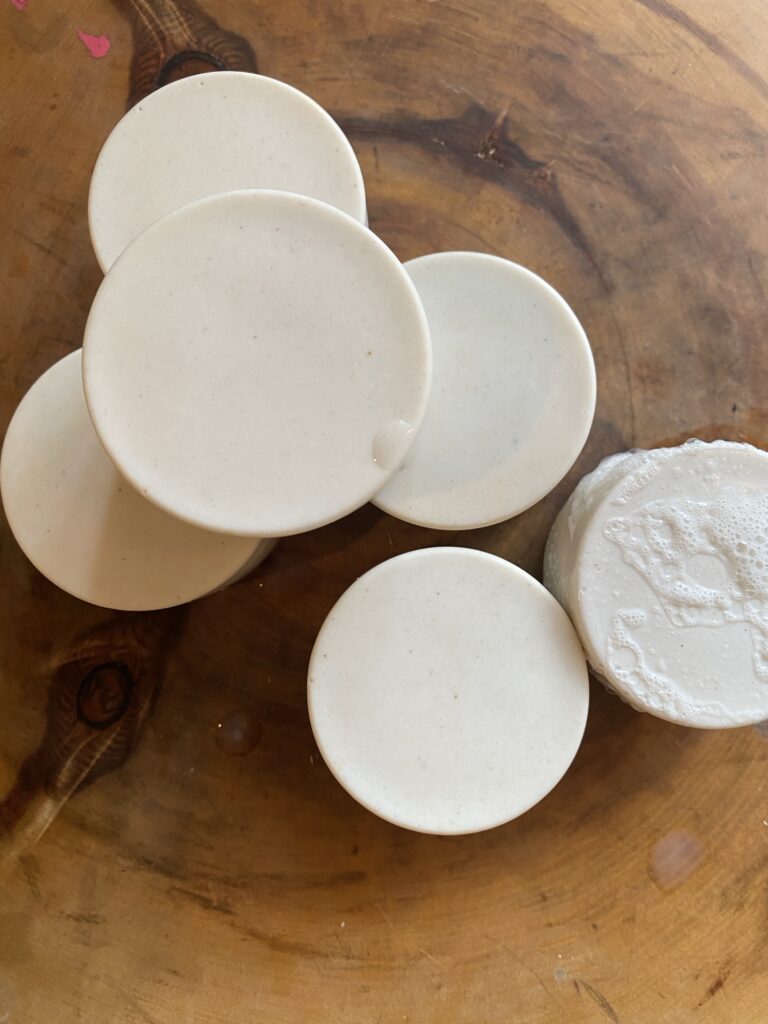
Once incorporate its time to pour the batter into molds. I have this little thrifted dish I store my dish scrub brush in and I decided to fill it with soap. You could do this in a cute mug or coffee cup too.
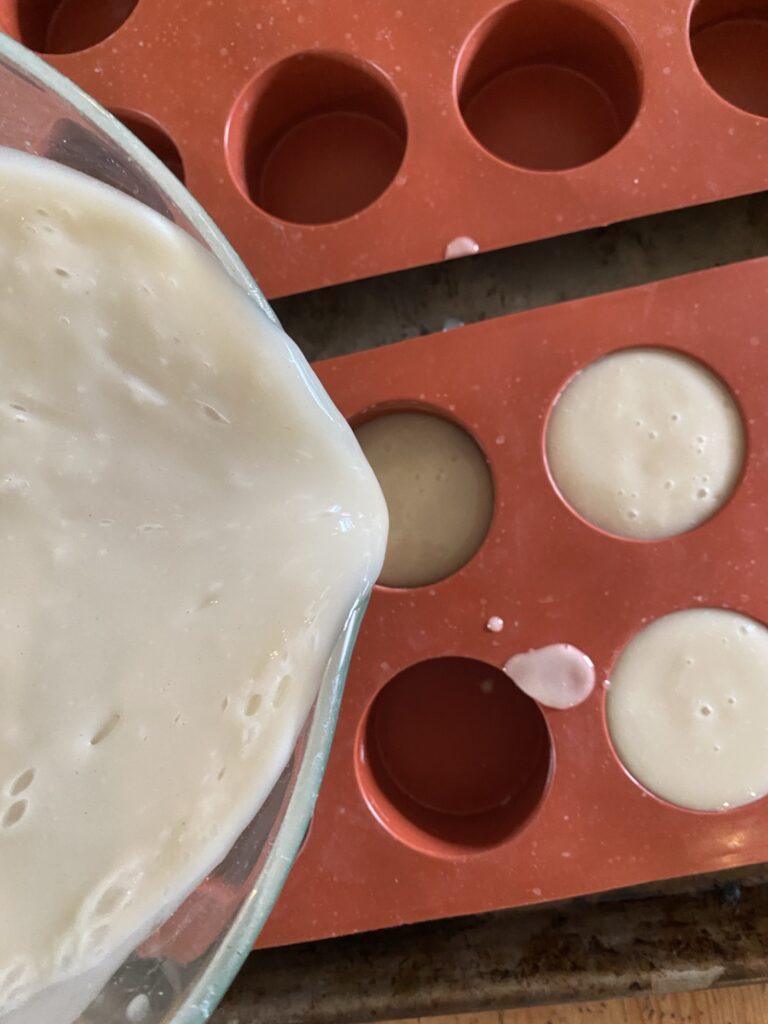
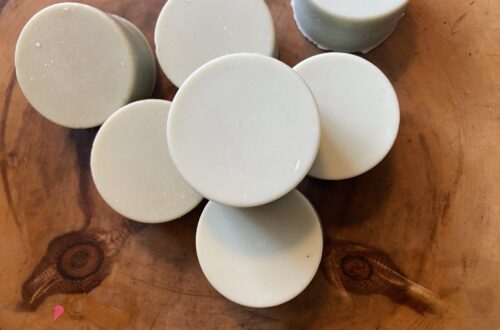
Then I poured the rest of my batter into my individual molds.
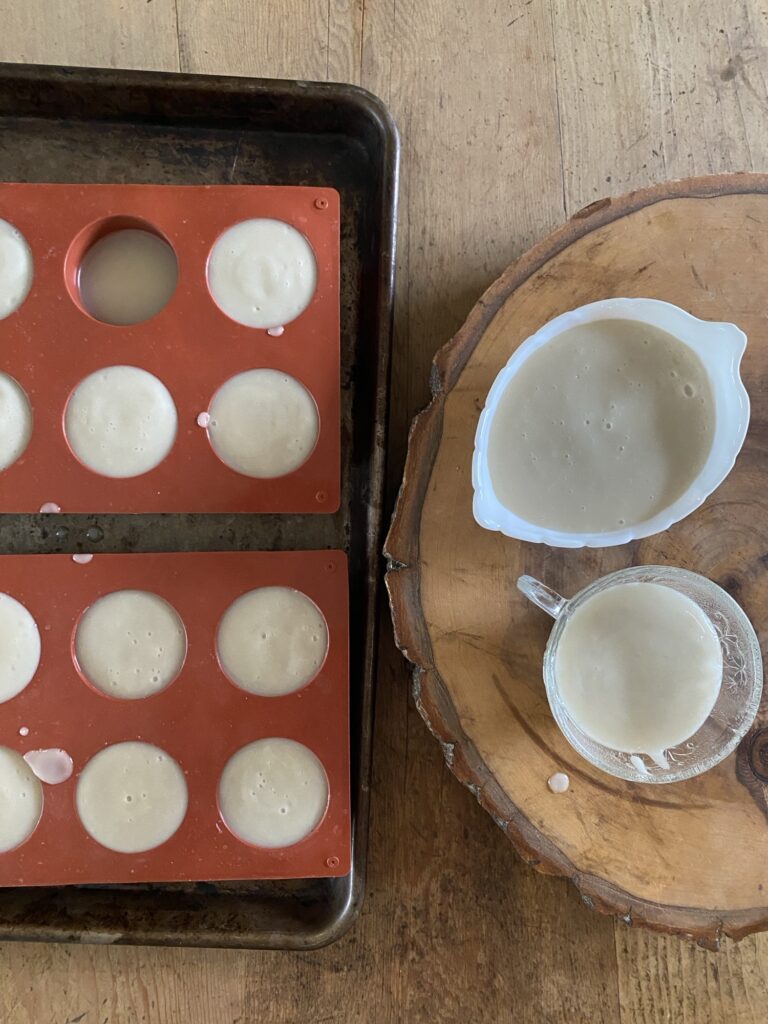
Allow the batter to set up for 24 hours. Then un mold and store in a well ventilated area. Allow the bars and soap in any dishes you may have used to cure for 4-6 weeks. This is to be sure the lye is completely gone, the water evaporates and this creates a harder longer lasting bar of soap. Especially when working with tallow, which creates a softer bar of soap. Tallow soaps really need that long cure time.
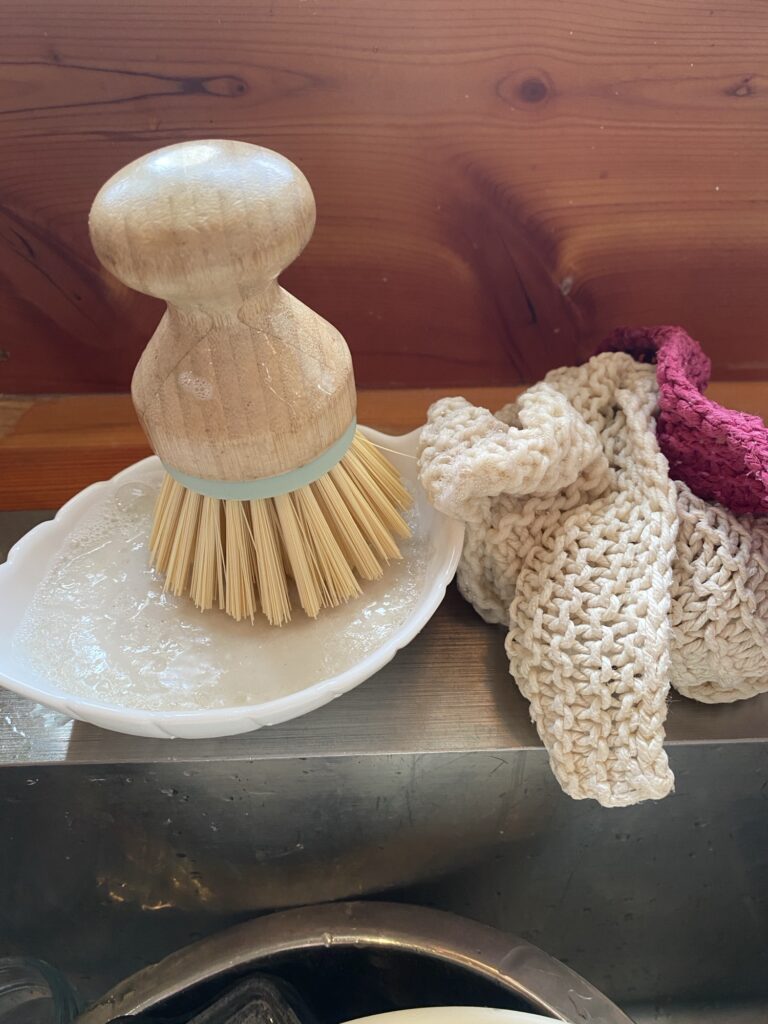
These make great gifts, harden the batter in cute dishes and gift them with a handmade washcloth or wooden scrub brush.
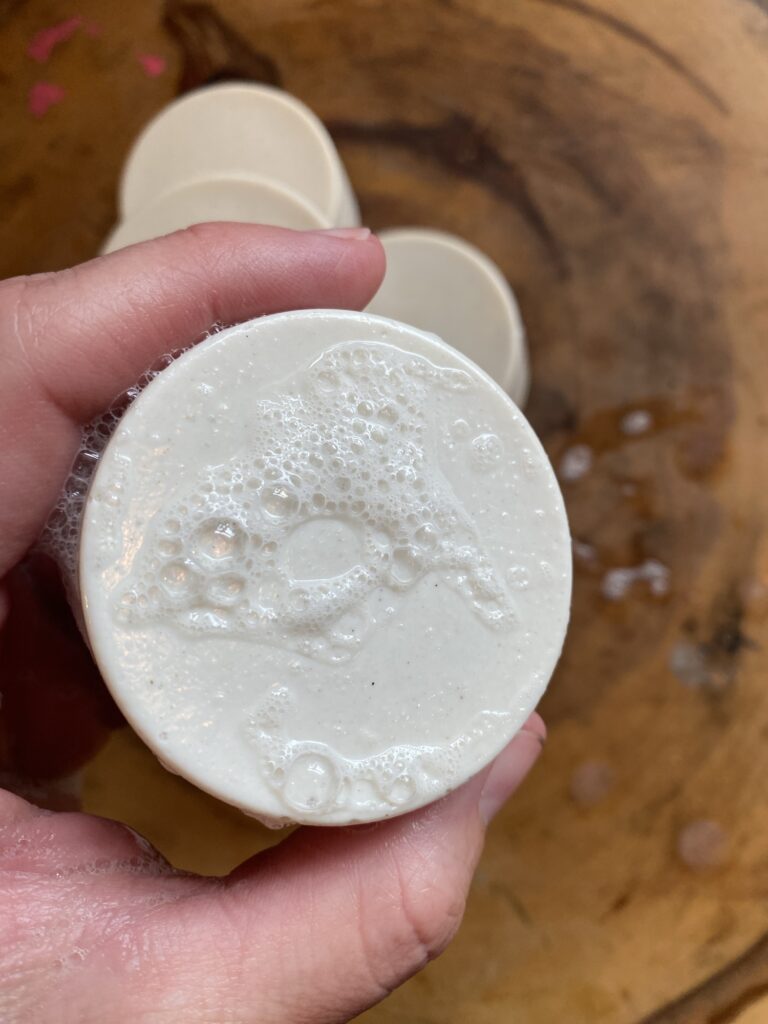
For the clean up:
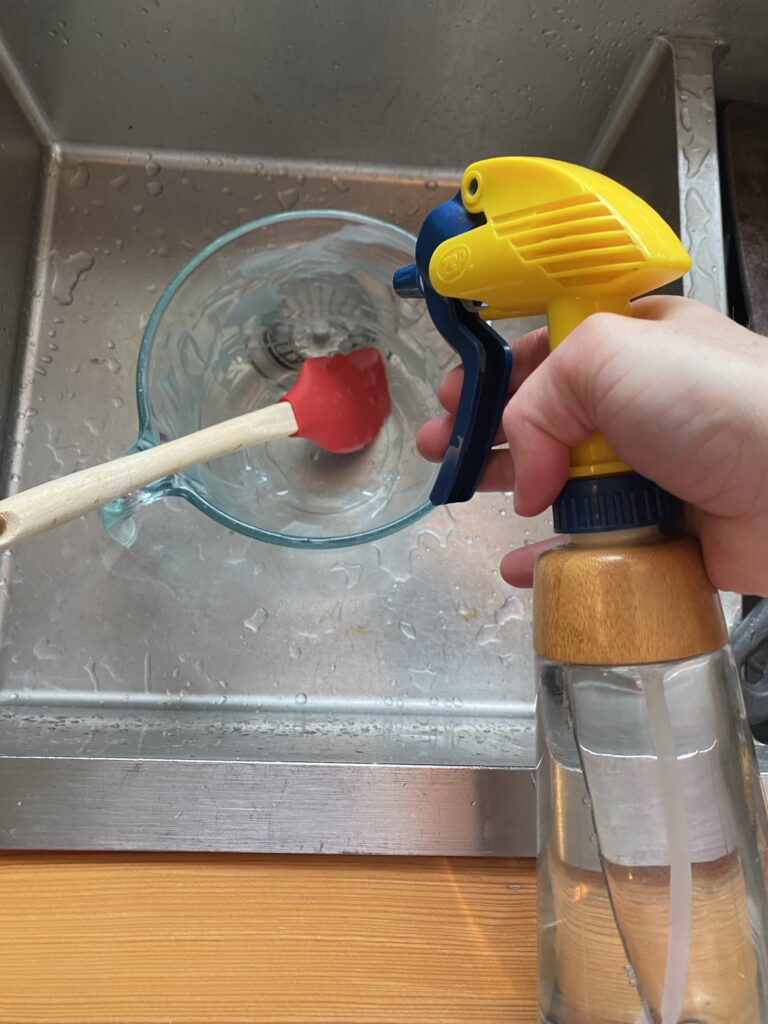
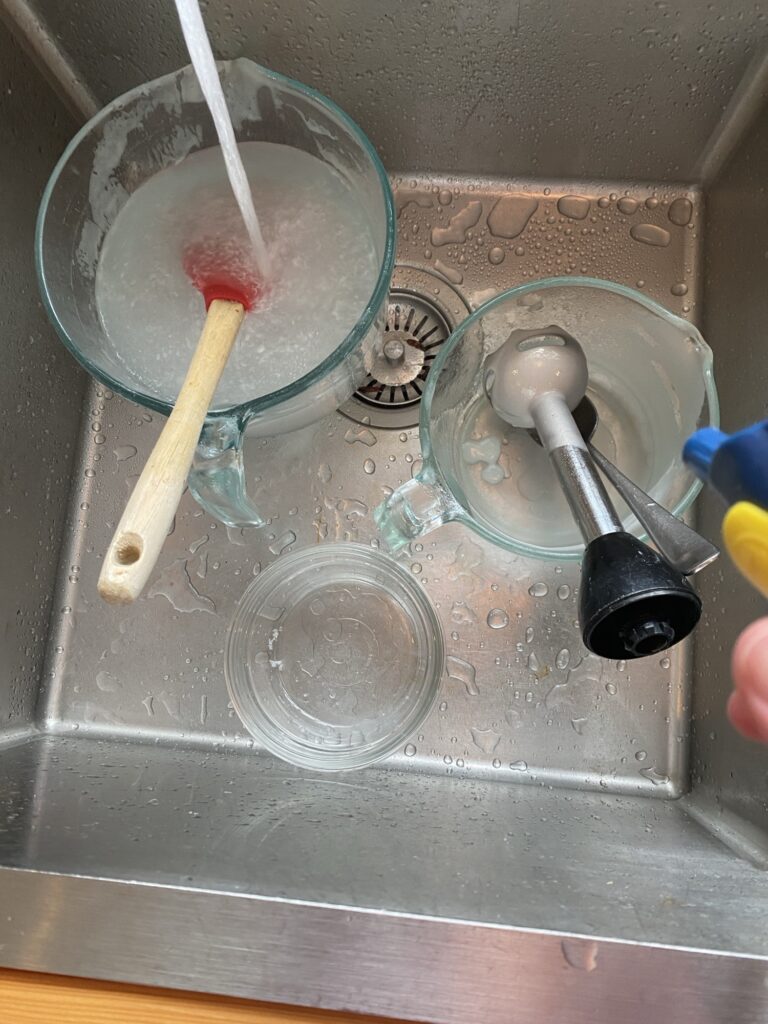
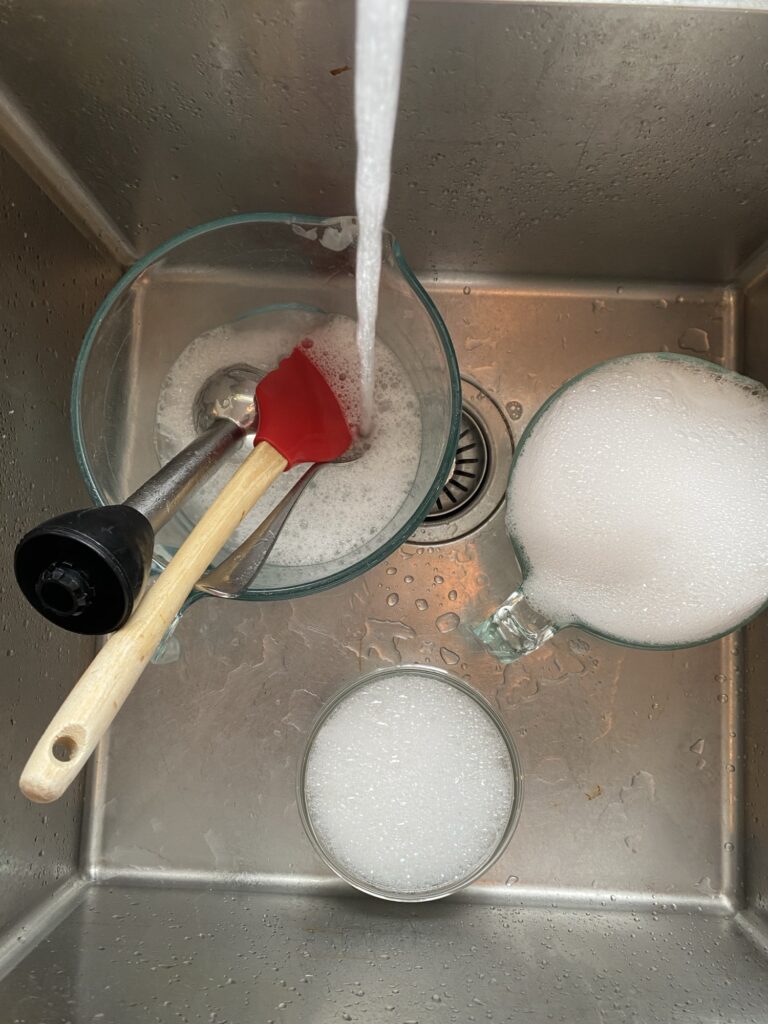
Spray everything with vinegar and soak in warm water. Spray your work space with vinegar and clean well. Then do a second soak of the dishes in hot soapy water. Be sure all the soap batter is rinsed and then hand wash or place in the dishwasher for a final clean.
Enjoy making your own simple cold process dish soap.
Warmest Blessings,
Ashley